Can you draw a bicycle from memory, without looking at a photo or diagram? Before reading further, take out a sheet of paper and a pencil and try doing this, No cheating or looking at a picture.
Did you have trouble, even after initial confidence that this would be easy? Well, if so you are in good company!
Apparently this is a difficult task for most people and the following article explains why and shows the amusing results when your average person on the street is asked to do so.
Nevertheless, I am going to show you how to easily draw a bicycle from memory, so the next time someone asks (if they ever do) Can you draw a bicycle from memory, you will be able to answer: “Of course, drawing a bicycle is easy!”
Step 1
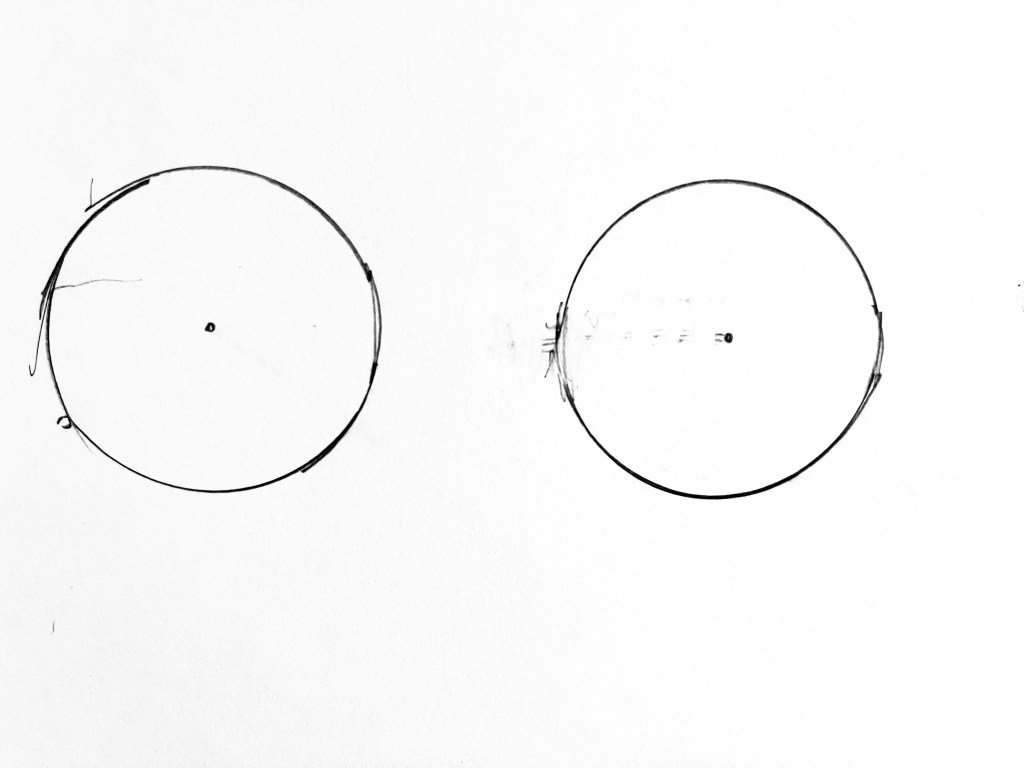
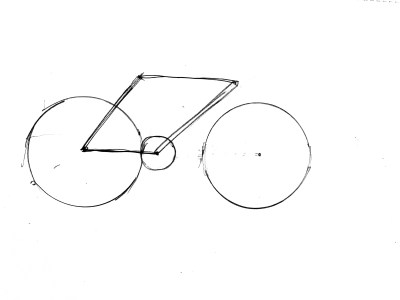
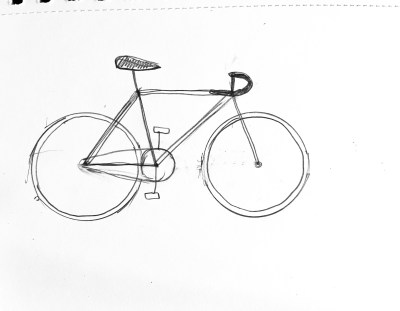
Draw a circle, then at about a half diameter away, draw another identical circle. Find and mark the center of each.
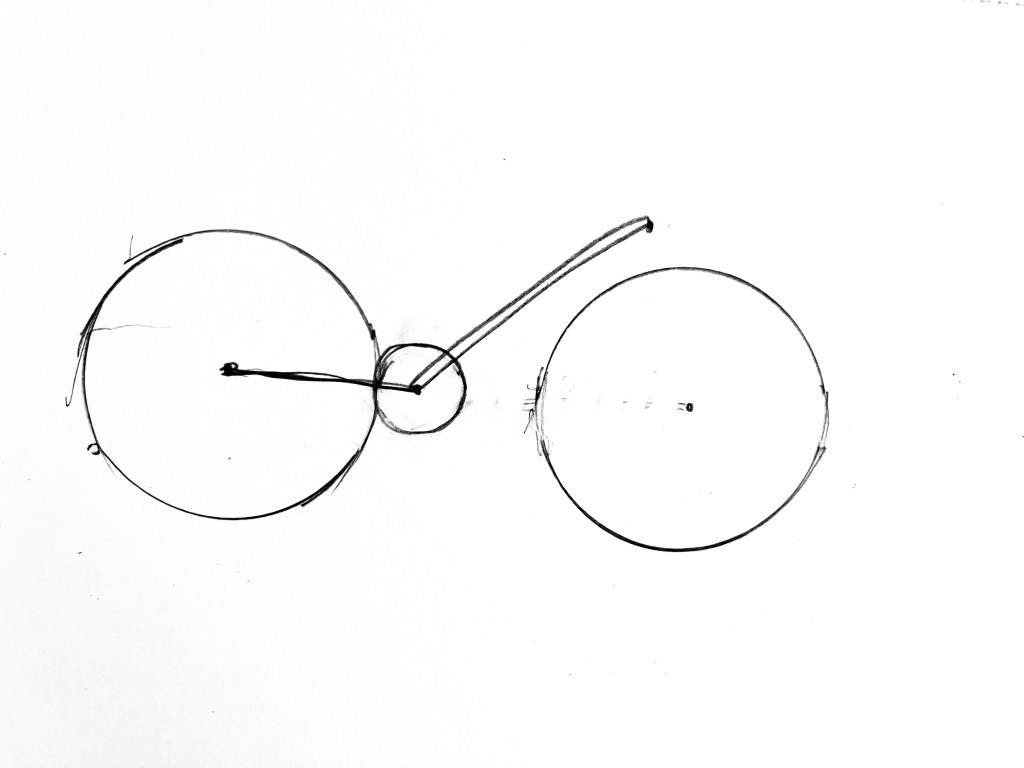
step 2 Add a small circle with approximately a quarter of the diameter of original circles and place it next to one wheel, this will be the rear wheel, with its center on a horizontal line to the center of the big circle.
Step 3 Draw a diagonal line from the center of the small circle to a point outside the “front wheel”, near but not quite vertically above the center, at around 11 o’clock
Step 4 Add a line almost but not quite parallel to this front line, coming from the center of rear wheel.
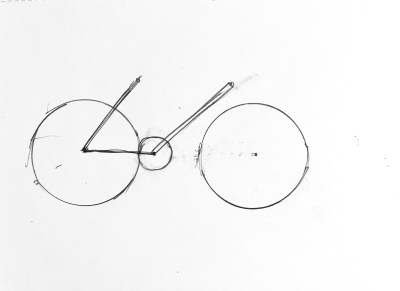
Step 5 Connect the two diagonal lines as shown below, making a trapezoidal-like figure. Note that this is not a true trapezoid on most bikes, but close to it will do for our drawing.
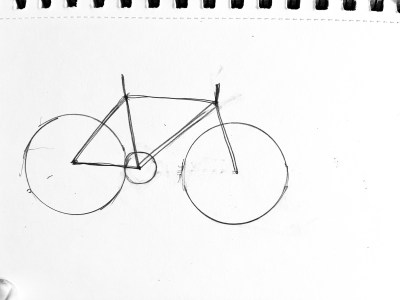
Step 6 Drop two more lines. One from the upper right corner of “trapezoid-like figure” to the center of the front wheel. Draw another running from the center of the small wheel through the upper intersection of lines on the left (the projection is the location for the seat). To complete most of the bike frame. add a small vertical line at the top in the front for the post that holds the handlebars,
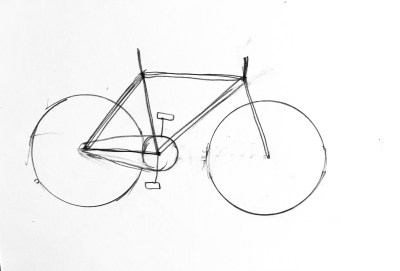
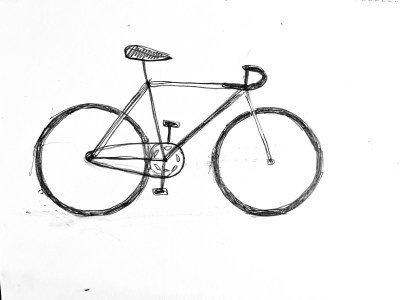
Step 7 Add Chain and pedals as shown to small wheel
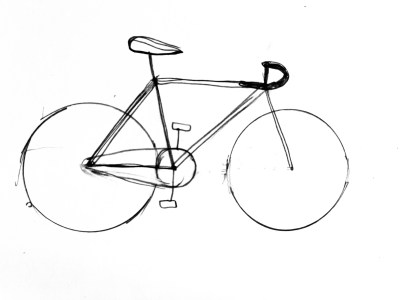
Step 8 Add seat and underslung handlebars at the height necessary for your rider.
Step 9 Thicken tires and reinforce bike frame if you wish
Et voila!you CAN draw a bicycle! (add spokes and panniers and water bottle as you wish)
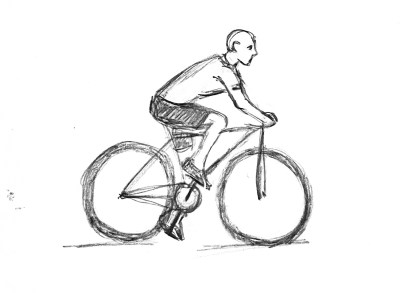
Step 10 is the hardest part– adding a rider to your bicycle! Come back soon and I hope to explain this more difficult task at a later date.
Can you draw a bicycle now? Take out a fresh piece of paper and try it to see how much you remember of this exercise. With only a little practice you will find drawing a bicycle is indeed easy!
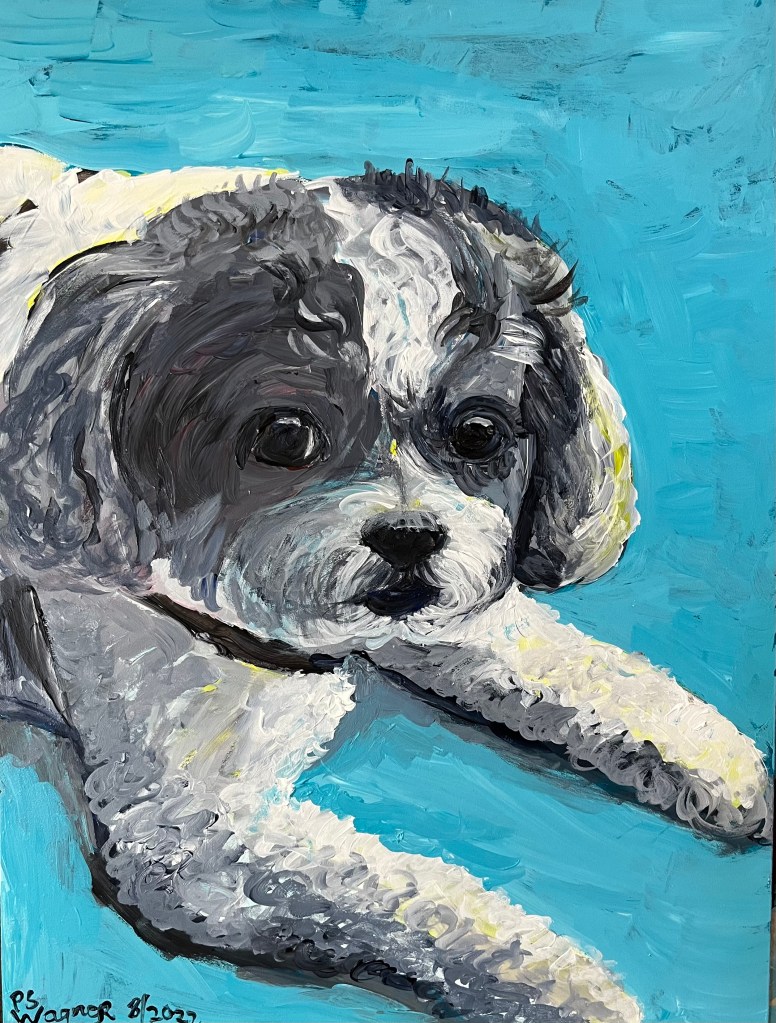
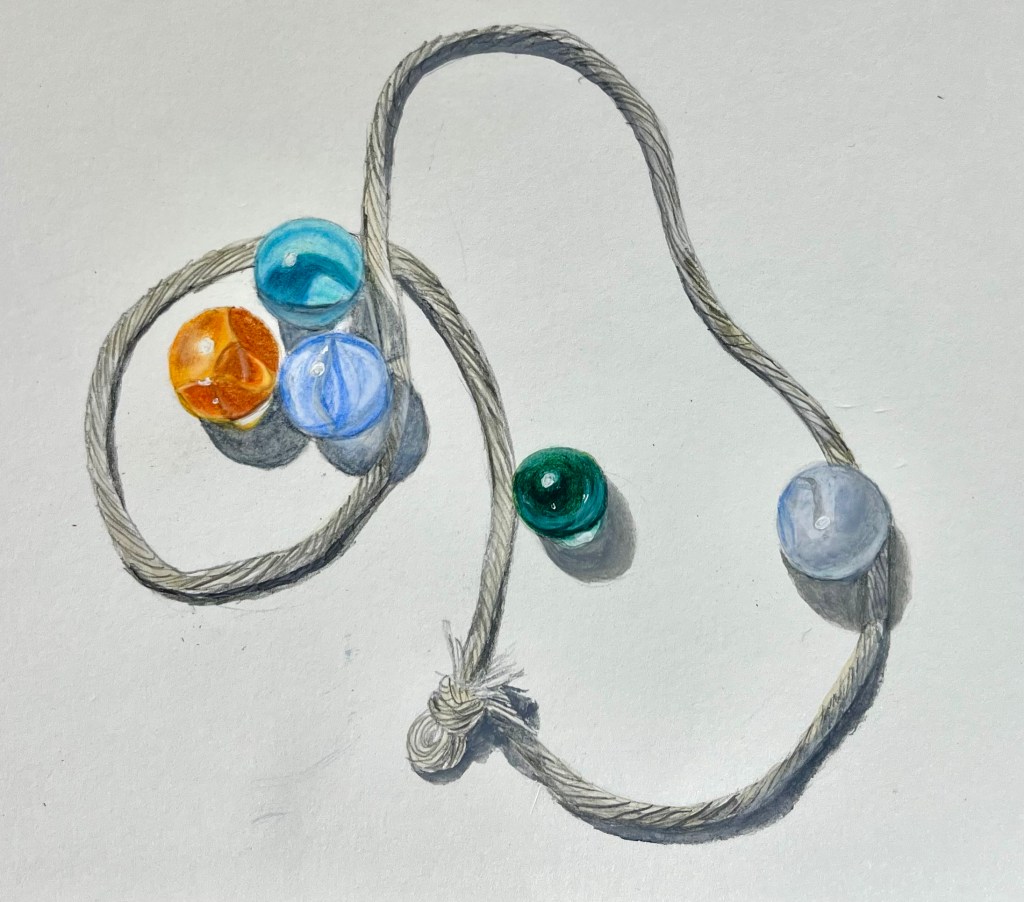
Dolly, Acrylics, about 9” by 12” for sadie Marbles and string, more studies in realism – watercolors and colored pencil c. 5” by 7”Study of Peach/nectarine and grapes, realism – watercolors and colored pencils c. 5” by 7”
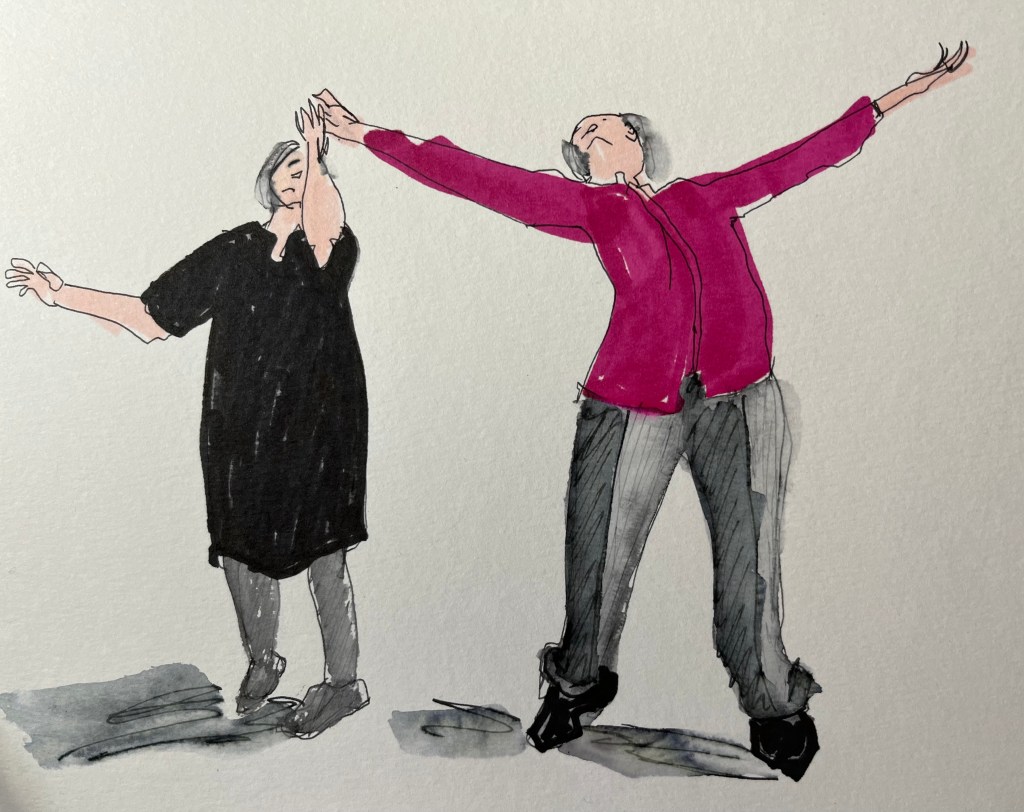
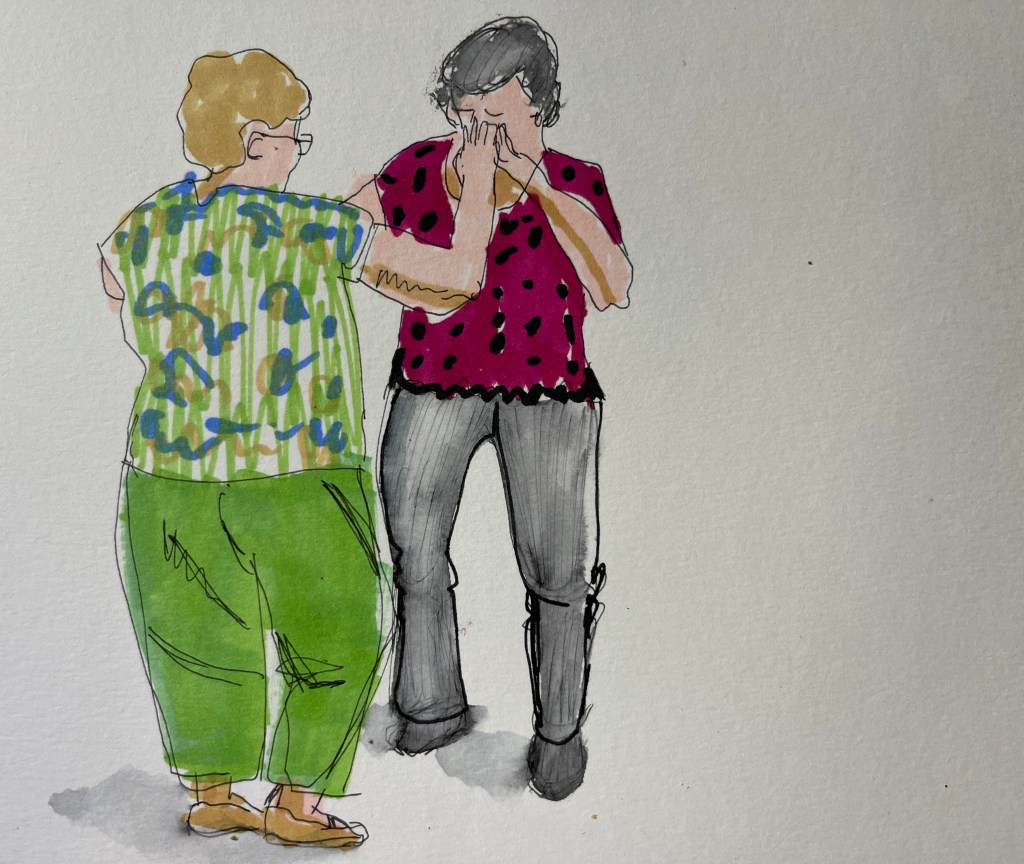
The following sketches are simply small studies of women dancing, trying to capture the movement in the photograph and drawing quickly. Each sketch took only a few minutes at most, hence the simplicity.
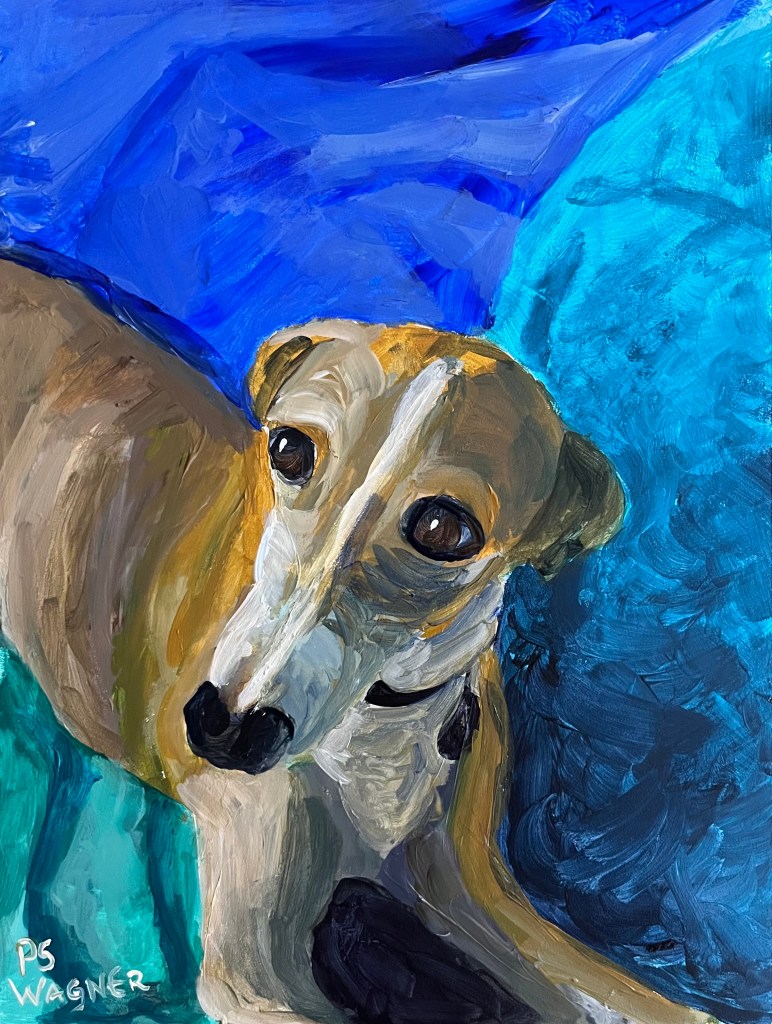
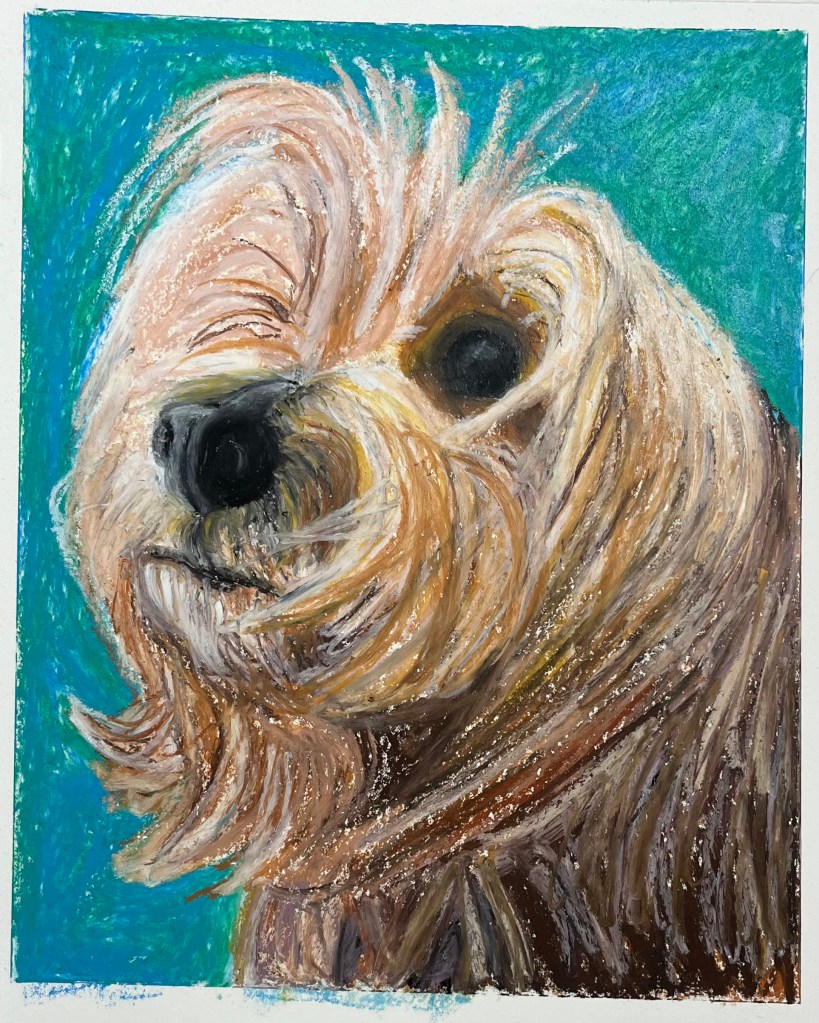
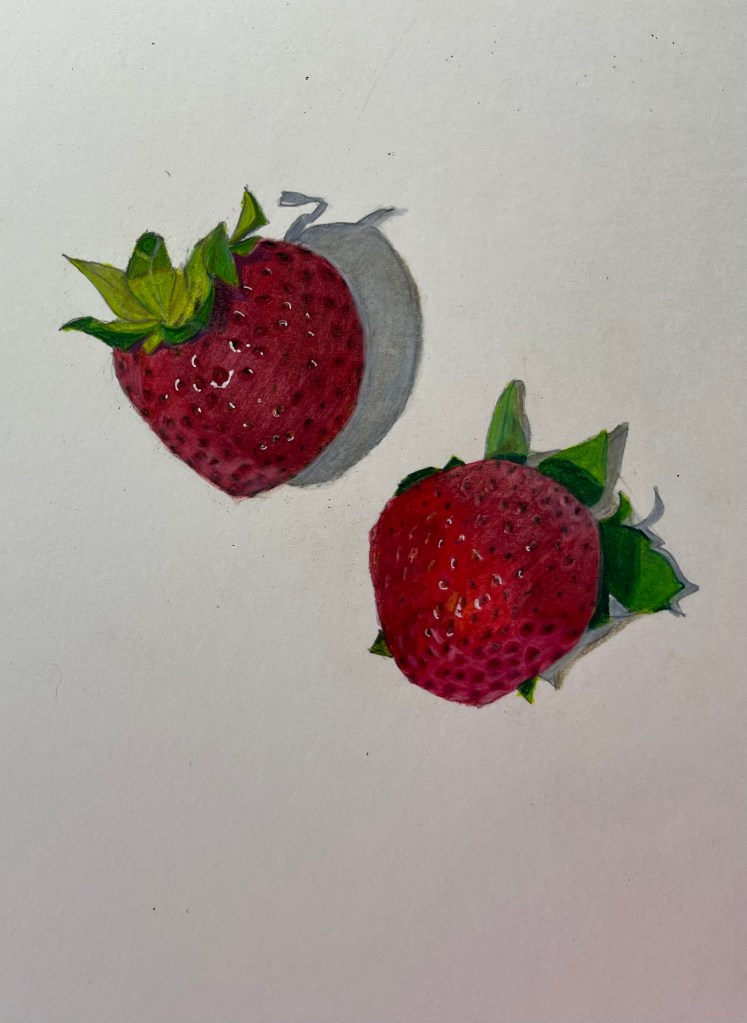
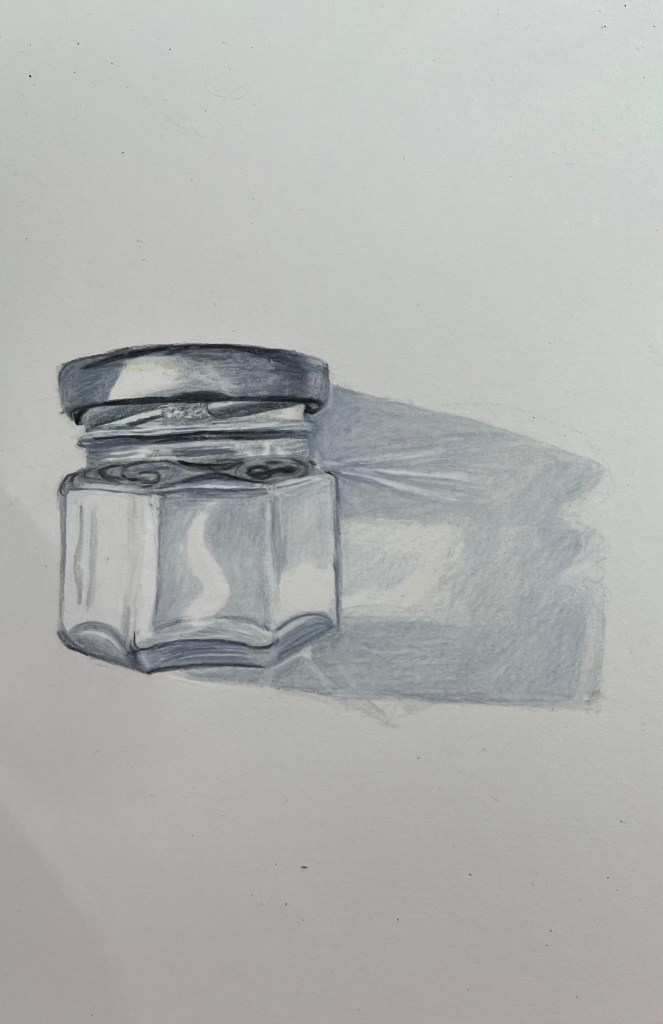
A friend’s beloved dog, now deceased. Oil pastel, c. 12” by 9”strawberries in watercolor and colored pencilSmall jar in watercolor and colored pencilsWine bottle cork in watercolors and colored pencilWooden finial with photo for comparison, in watercolors and colored pencils
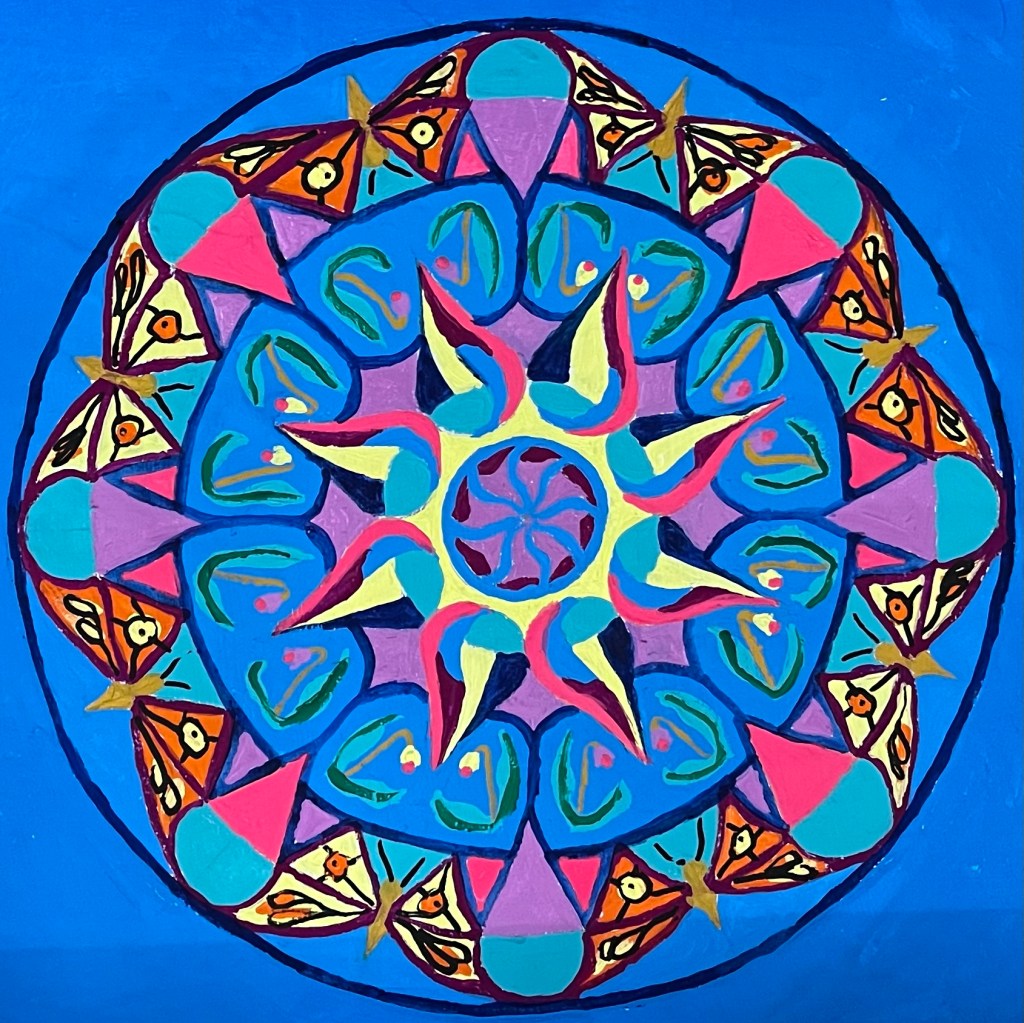
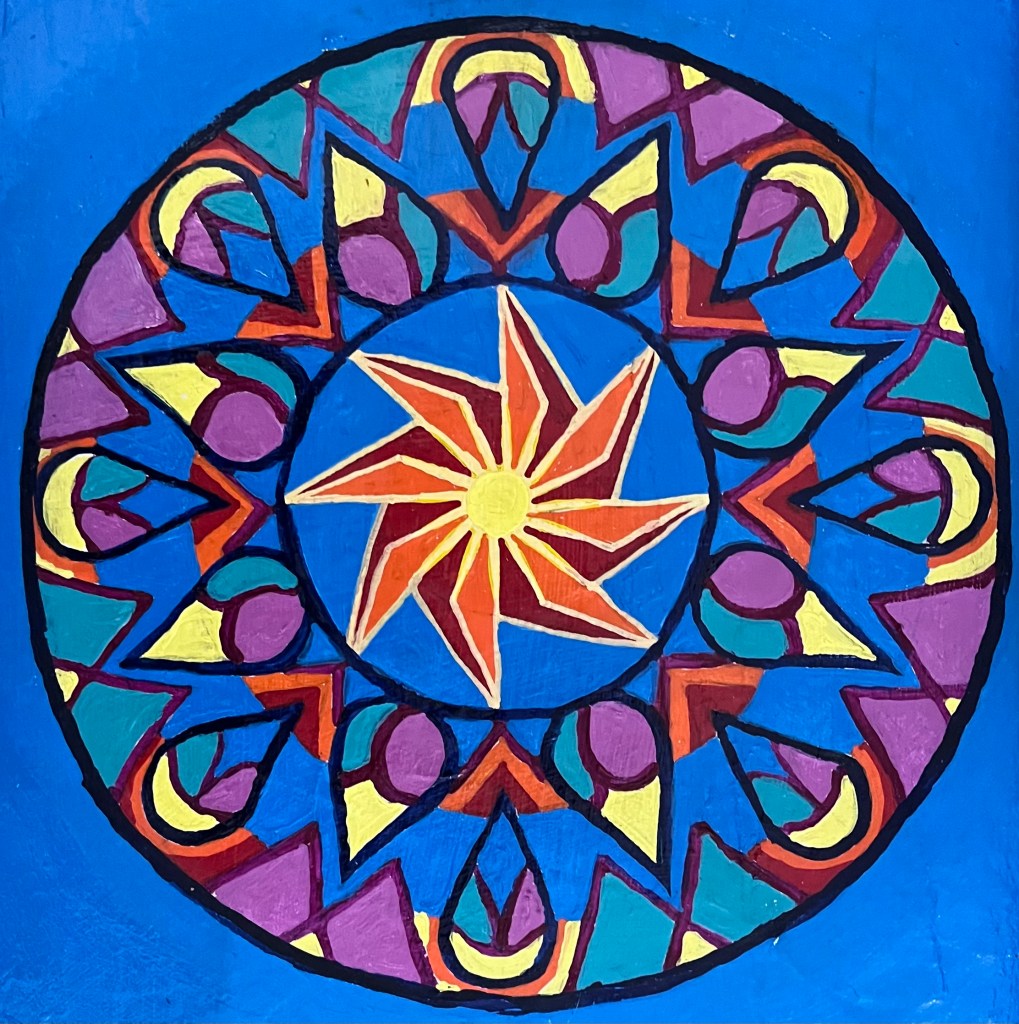
In addition to July as Artist of the Month at the Harmony Collective, all proceeds from sales in July will go to benefit Groundworks Collaborative. You can find out more about Groundworks by going to http://groundworksvt.org
“At Groundworks, we are steadfast in our dedication to our mission — working with people and systems to end hunger and homelessness for all people in our region– and we will not fail. Stand with us.”
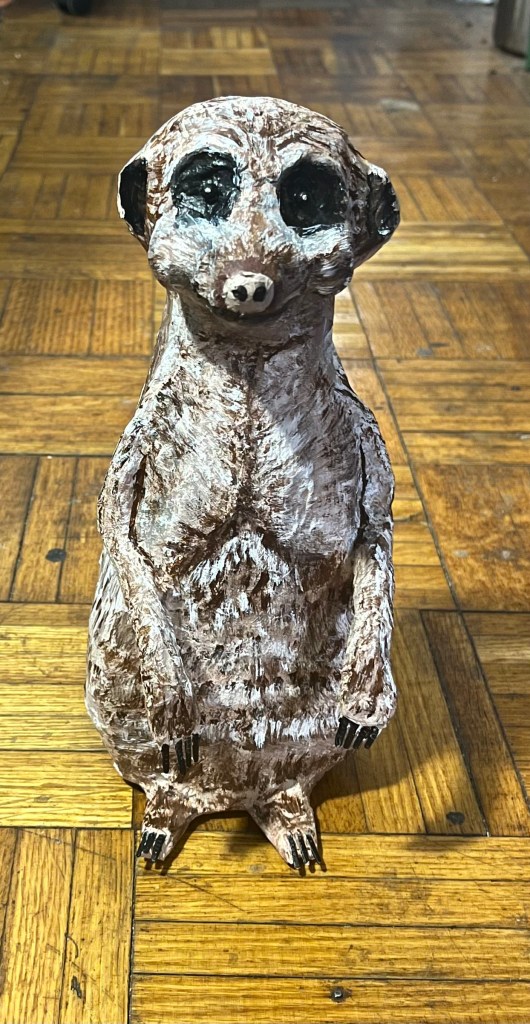
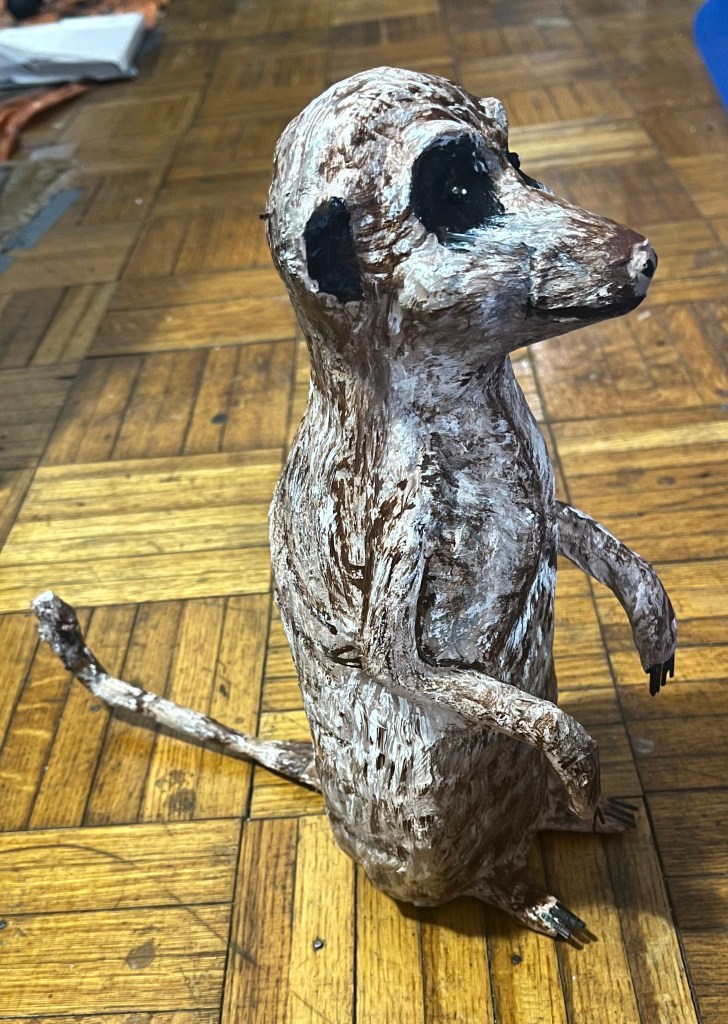
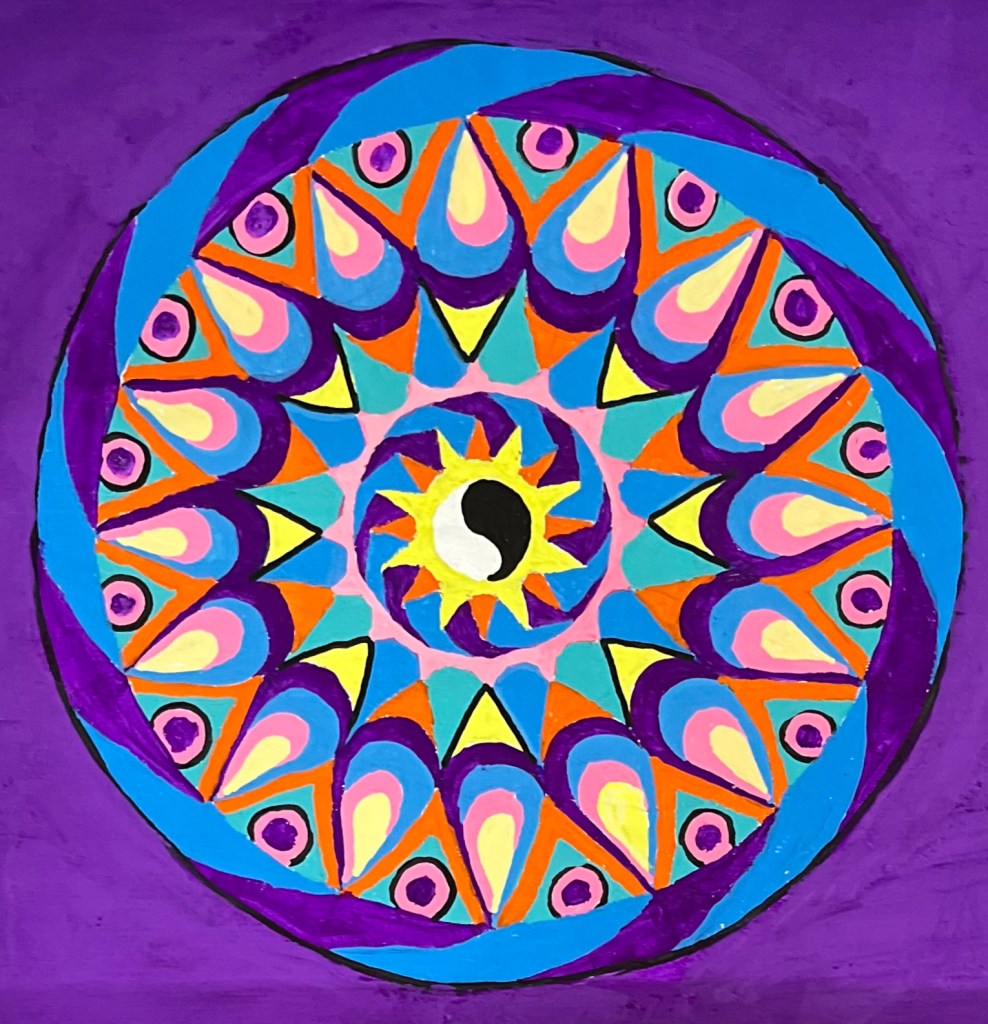
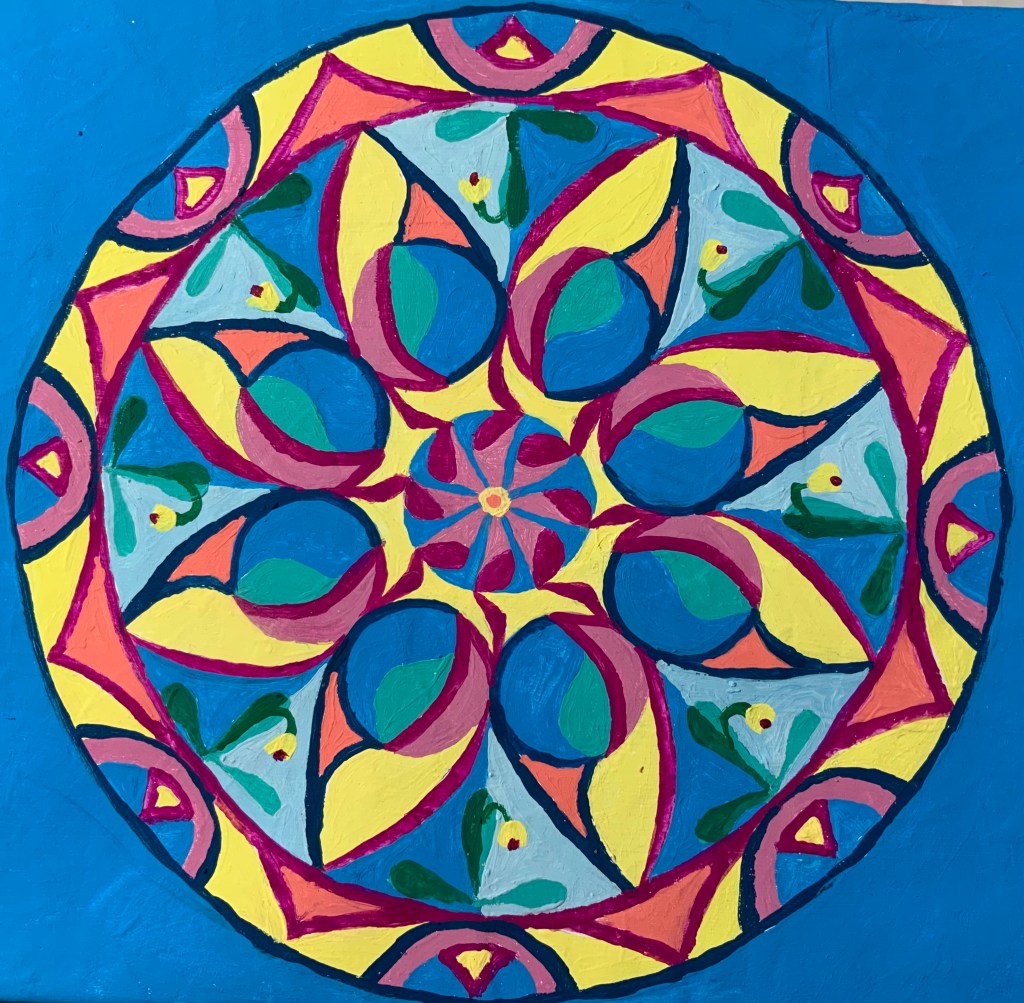
I hope in addition to displaying and selling my MAD ART paintings in July I will also be able to keep my 3-D art, which is presently on permanent display. Everything is for sale, in case you are wondering.
Do stop by the Harmony Collective Gallery if ever you visit Brattleboro. It’s a wonderful site where the art is hugely diverse and you can find something that pleases everyone there.
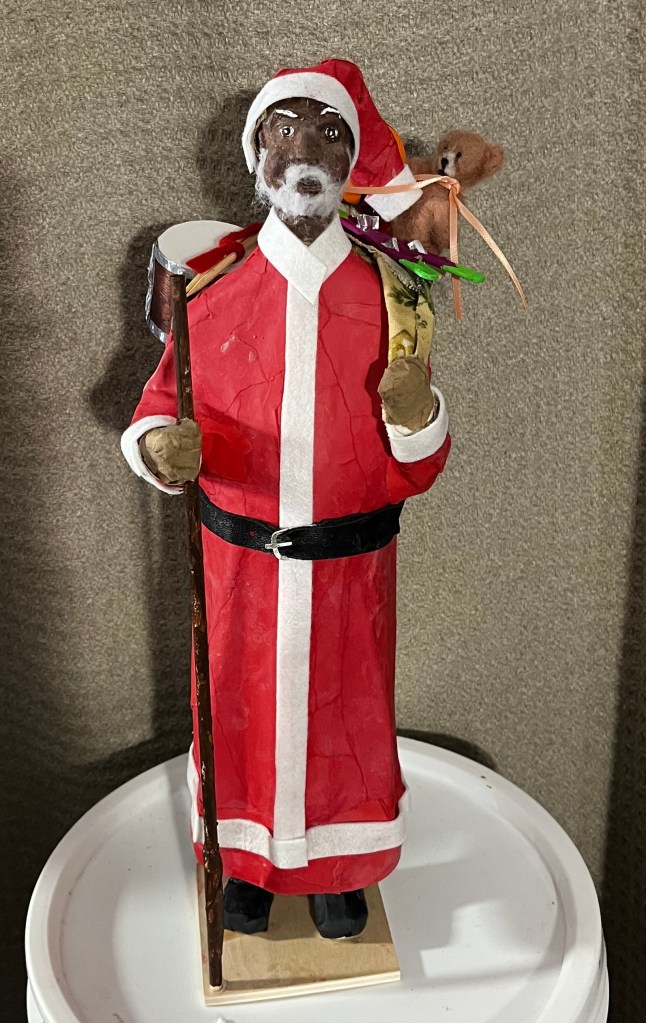
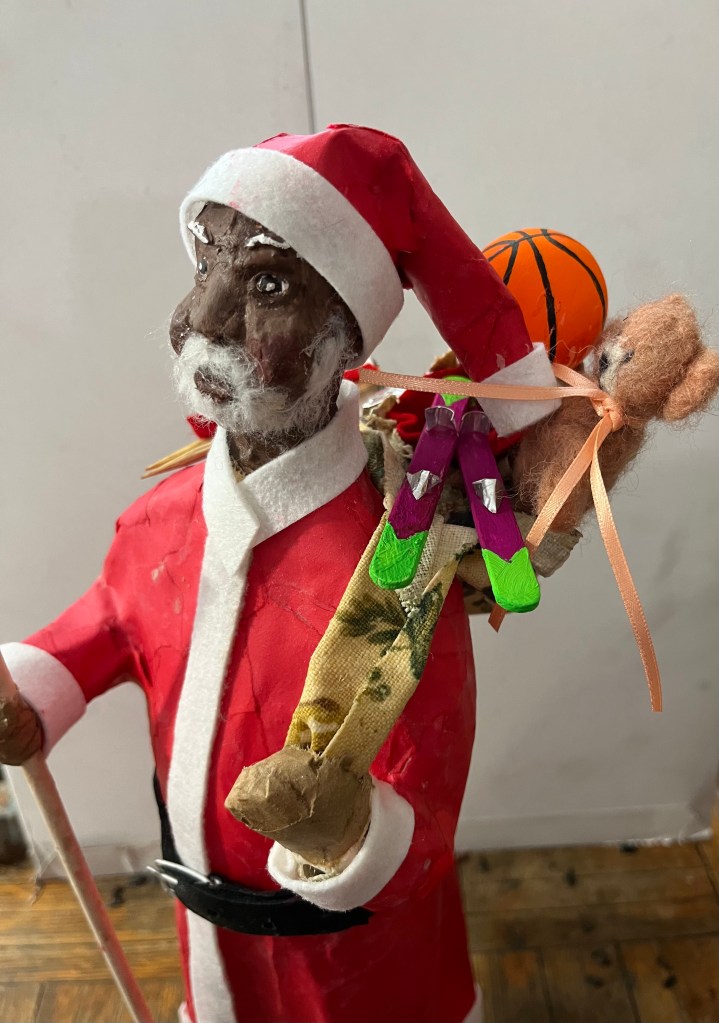
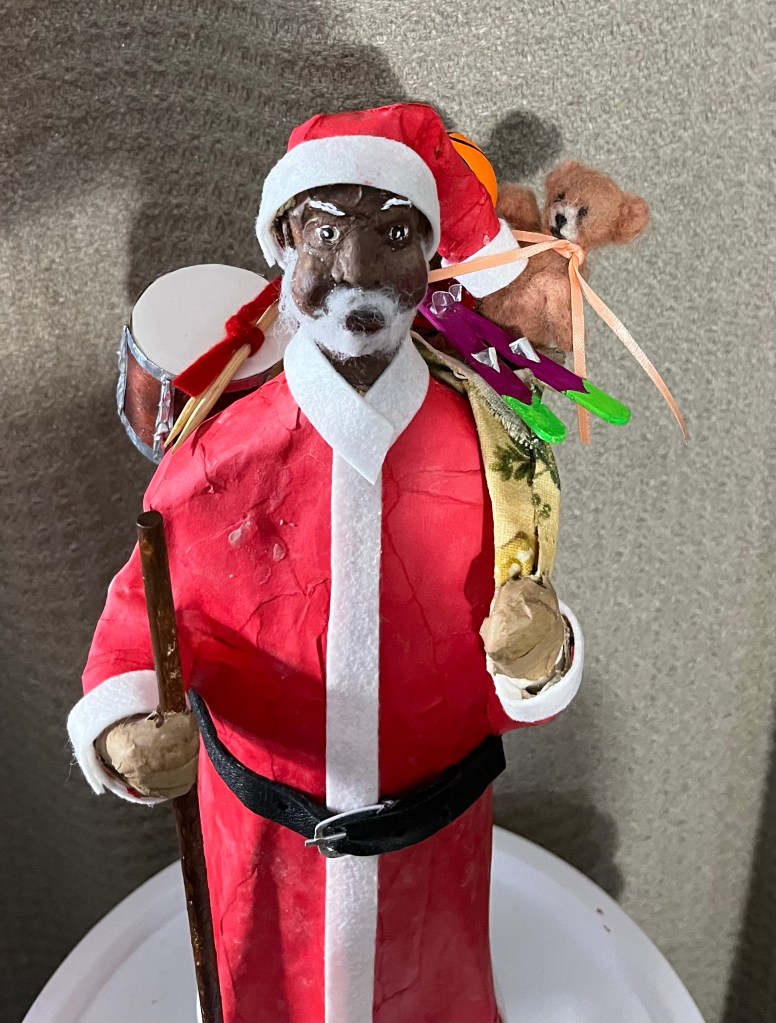
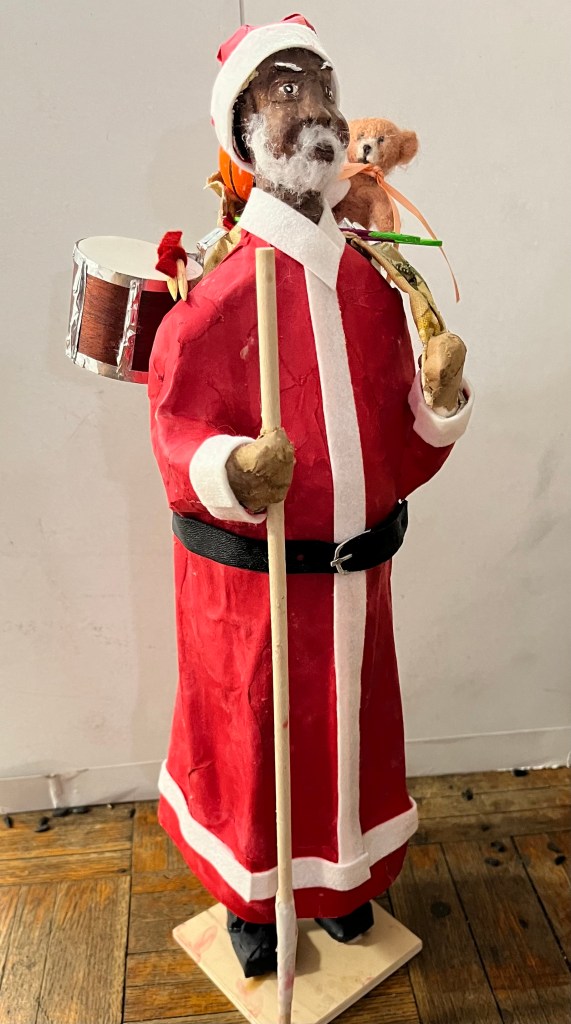
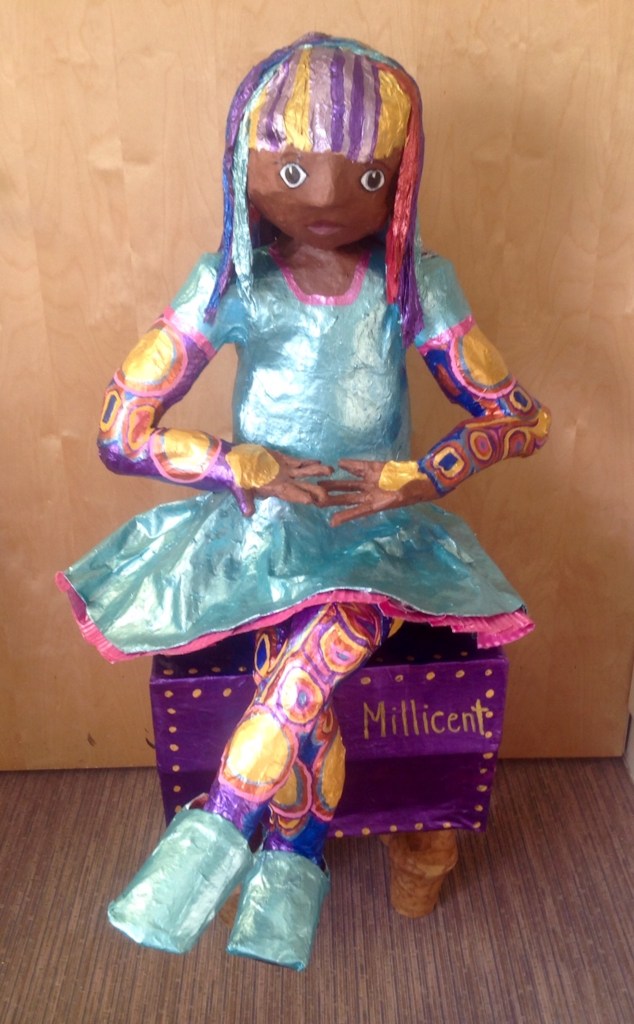
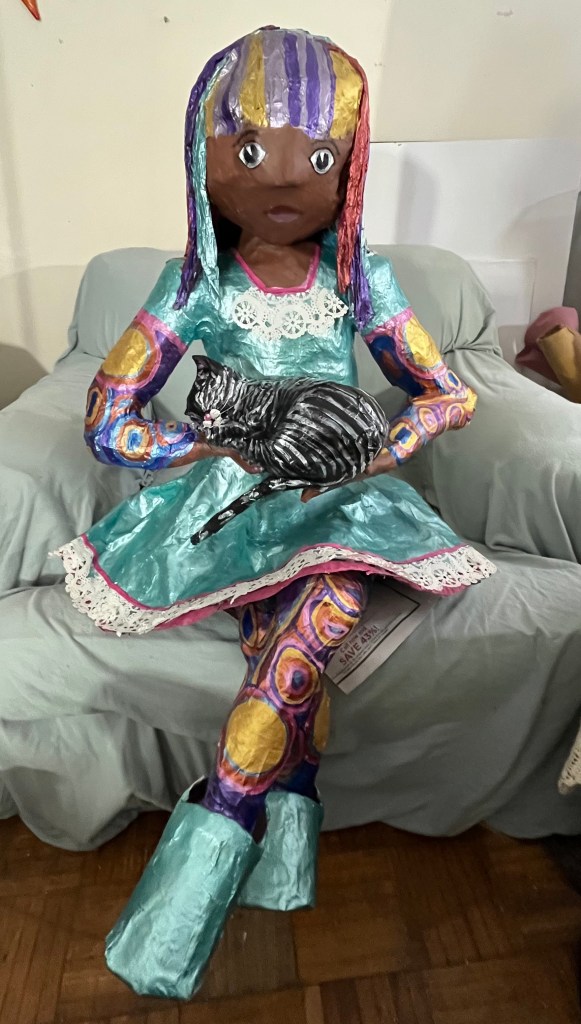
Closer to finished now! need just to finish mittens and the standNearly finished, this is my 17” Santa Claus in paper and cloth mâchéAll the toys in Santas sack are made by me, by handI made the belt buckle and the drum as well